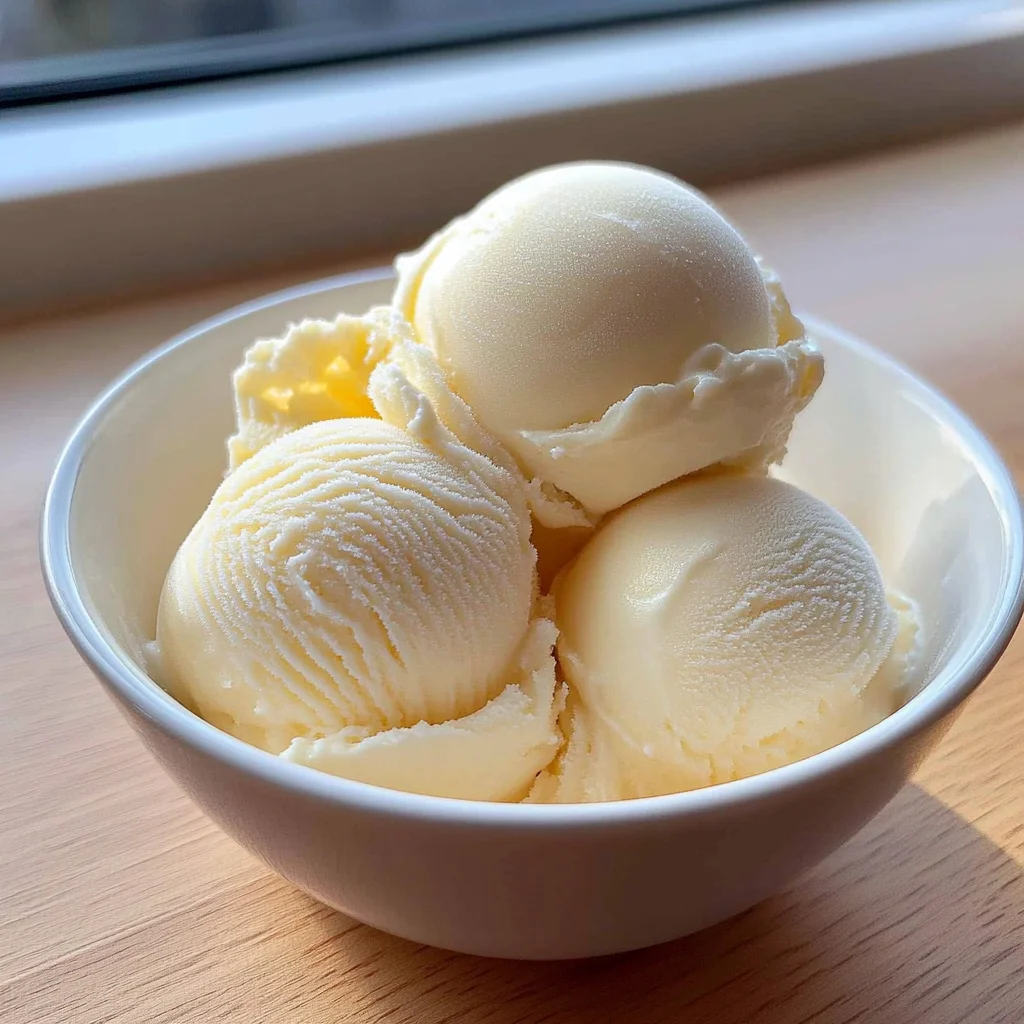
Imagine the sweet, creamy sensation of homemade vanilla ice cream melting in your mouth, evoking memories of carefree summer days and laughter-filled gatherings. The rich aroma of vanilla beans mingles with the coolness of freshly churned cream, creating a delightful symphony of flavors that dances on your palate and brings a smile to your face.
As you scoop this velvety treat into bowls, it’s hard not to reminisce about those warm evenings spent with family, savoring each bite under twinkling stars. Whether it’s a birthday celebration or a spontaneous dessert craving after dinner, this homemade vanilla ice cream promises to be the star of any occasion, ensuring every scoop is an experience worth relishing.
Why Is Homemade Vanilla Ice Cream So Irresistibly Good?
Richness comes from 2 cups of heavy cream, giving each scoop a delightful, creamy texture that store-bought varieties simply can’t match.
Simplicity shines through with just 15 minutes of prep time—no cooking required!
Sweetness is perfectly balanced with 3/4 cup of granulated sugar, making it an instant crowd-pleaser at any gathering.
Pure flavor bursts from 1 tablespoon of pure vanilla extract, elevating the taste to gourmet levels.
Versatility allows you to customize with mix-ins or toppings, ensuring there’s always a new way to enjoy this classic treat!
Homemade Vanilla Ice Cream Ingredients
- For the Cream Base
2 cups heavy cream – This rich ingredient gives your ice cream its luxurious, creamy texture.
- For the Milk
1 cup whole milk – Whole milk adds a touch of sweetness and helps balance the richness of the cream.
- For the Sweetness
3/4 cup granulated sugar – This is the perfect amount to sweeten your Homemade Vanilla Ice Cream without overpowering the vanilla.
- For Flavoring
1 tablespoon pure vanilla extract – Pure vanilla extract elevates the flavor, making each bite aromatic and delightful.
- For Balance
1/2 teaspoon salt – A pinch of salt enhances all the flavors and rounds out the sweetness beautifully.
Step-by-Step Homemade Vanilla Ice Cream
1. Whisk Together: In a mixing bowl, whisk together the 2 cups of heavy cream, 1 cup of whole milk, 3/4 cup of granulated sugar, 1 tablespoon of pure vanilla extract, and 1/2 teaspoon of salt until the sugar is completely dissolved. This mixture should feel smooth and creamy.
2. Chill the Mixture: Cover the bowl with plastic wrap and refrigerate for at least 2 hours, or overnight for best results. Chilling helps meld those delightful flavors and ensures a creamy texture later.
3. Pour and Churn: Pour the chilled mixture into an ice cream maker and churn according to the manufacturer’s instructions until it reaches a soft-serve consistency. This process usually takes about 20-30 minutes, so get ready for that sweet aroma!
4. Freeze to Firm Up: Transfer the churned ice cream to an airtight container and freeze for at least 2 hours to firm up before serving. Your homemade vanilla ice cream will be perfect for scooping after this time.
Optional: Serve with fresh berries or chocolate syrup for a delightful twist!
Exact quantities are listed in the recipe card below.
Expert Tips
- Chill Properly: Ensure your ice cream base is chilled for at least 2 hours. This helps achieve a smoother texture in your Homemade Vanilla Ice Cream.
- Whisk Thoroughly: Mix the ingredients until the sugar completely dissolves. Undissolved sugar can lead to icy crystals in your final product.
- Monitor Churning Time: Follow your ice cream maker’s instructions closely. Over-churning can lead to a grainy texture, while under-churning leaves it too soft.
- Freeze Firmly: After churning, freeze the ice cream for at least 2 hours. This step is crucial for achieving the perfect scoopable consistency.
- Quality Ingredients: Use high-quality vanilla extract for a richer flavor. Avoid imitation vanilla, as it can detract from the deliciousness of your Homemade Vanilla Ice Cream.
How to Store and Freeze Homemade Vanilla Ice Cream
- Freezer: Store your Homemade Vanilla Ice Cream in an airtight container for up to 2 weeks for the best texture and flavor.
- Cover: To prevent ice crystals, press a piece of plastic wrap directly onto the surface of the ice cream before sealing the container.
- Scoop: Allow the ice cream to sit at room temperature for about 5-10 minutes before scooping to make serving easier.
- Batch Size: If you make larger batches, consider dividing them into smaller containers for quicker thawing and less waste.
Homemade Vanilla Ice Cream Your Way
Feel free to get creative and tailor this creamy delight to suit your taste buds!
- Dairy-Free: Substitute heavy cream and whole milk with coconut cream and almond milk for a luscious, non-dairy treat. This version has a delightful coconut flavor that pairs beautifully with vanilla.
- Chocolate Chip: Add 1 cup of mini chocolate chips during the last few minutes of churning for a delightful crunch. The rich chocolate complements the smooth vanilla, creating a timeless classic.
- Mint Infusion: Incorporate 1/2 teaspoon of peppermint extract instead of vanilla for a refreshing twist. This minty version is perfect for summer days or holiday gatherings, bringing a cool burst of flavor.
- Caramel Swirl: Drizzle in 1/2 cup of your favorite caramel sauce just before freezing for an indulgent treat. The ribbons of sweet caramel create a beautiful marbling effect that tastes as good as it looks.
- Nutty Addition: Stir in 1/2 cup of crushed nuts like pecans or walnuts to add texture and richness. The nuts add a satisfying crunch that enhances the overall experience with every bite.
- Spiced Delight: Mix in 1/2 teaspoon of cinnamon or nutmeg for a warm, spiced flavor. This twist gives your ice cream a cozy feel, perfect for chilly evenings or festive occasions.
- Fruit Burst: Fold in 1 cup of fresh or frozen berries for a fruity explosion. Each spoonful will be bursting with juicy goodness, making it a refreshing option on hot days.
- Coffee Kick: Add 1 tablespoon of instant coffee granules to the mixture before churning for an energizing flavor boost. This coffee-infused ice cream is perfect for those who love their caffeine fix in dessert form!
Make Ahead Options
If you’re looking to streamline your dessert preparations, this Homemade Vanilla Ice Cream recipe is perfect for meal prep. You can easily prepare the base ingredients, such as 2 cups of heavy cream, 1 cup of whole milk, and 3/4 cup of granulated sugar, up to 24 hours in advance. Simply whisk them together with 1 tablespoon of pure vanilla extract and 1/2 teaspoon of salt until the sugar dissolves, then cover the bowl with plastic wrap and refrigerate it for at least 2 hours or overnight. When you’re ready to enjoy your ice cream, just pour the chilled mixture into your ice cream maker and churn according to the manufacturer’s instructions until it reaches that delightful soft-serve consistency. Finally, transfer the churned ice cream to an airtight container and freeze it for at least 2 hours to firm up before serving. This way, you can savor rich and creamy homemade vanilla ice cream whenever you desire!
Homemade Vanilla Ice Cream Recipe FAQs
How can I ensure my ice cream base is perfectly creamy?
To achieve that luscious, creamy texture, make sure to use high-quality heavy cream and whole milk. These fats are key to getting that rich mouthfeel. Whisk the mixture until the sugar is fully dissolved, which typically takes just a couple of minutes. Remember, chilling the mixture for at least 2 hours (or overnight) lets those flavors deepen beautifully!
What’s the best way to store homemade vanilla ice cream?
Once your ice cream has been churned and transferred to an airtight container, freeze it immediately. For optimal texture and flavor, consume it within 1-2 weeks. Just remember to let it sit at room temperature for about 5-10 minutes before scooping to make serving easier!
Can I customize this homemade vanilla ice cream recipe?
Absolutely! While this recipe is a classic, you can add mix-ins like chocolate chips, crushed cookies, or fresh fruit during the last few minutes of churning for added flavor and texture. Or try infusing your cream with other extracts like almond or coconut for a delightful twist.
What should I do if my ice cream isn’t freezing properly?
If your ice cream isn’t freezing well in the maker, it could be because the mixture wasn’t chilled adequately before churning. Always aim for at least 2 hours in the fridge. Also, check that your ice cream maker’s bowl is properly frozen if it’s designed for that purpose—sometimes placing it in the freezer overnight does the trick.
Is there a dairy-free option for this homemade vanilla ice cream?
Certainly! You can substitute heavy cream with full-fat coconut milk and whole milk with almond or cashew milk. Just ensure you adjust the sweetener according to taste since some plant-based milks can be sweeter than cow’s milk.
How many servings does this recipe yield?
This delightful homemade vanilla ice cream recipe yields about 4 generous servings. Each serving contains approximately 250 calories, making it a perfect treat for sharing on special occasions or simply enjoying on a cozy evening at home!
Homemade Vanilla Ice Cream
Ingredients
Method
- In a mixing bowl, whisk together the heavy cream, whole milk, granulated sugar, vanilla extract, and salt until the sugar is dissolved.
- Cover the bowl with plastic wrap and refrigerate for at least 2 hours, or overnight for best results.
- Pour the chilled mixture into an ice cream maker and churn according to the manufacturer's instructions until it reaches a soft-serve consistency.
- Transfer the churned ice cream to an airtight container and freeze for at least 2 hours to firm up before serving.