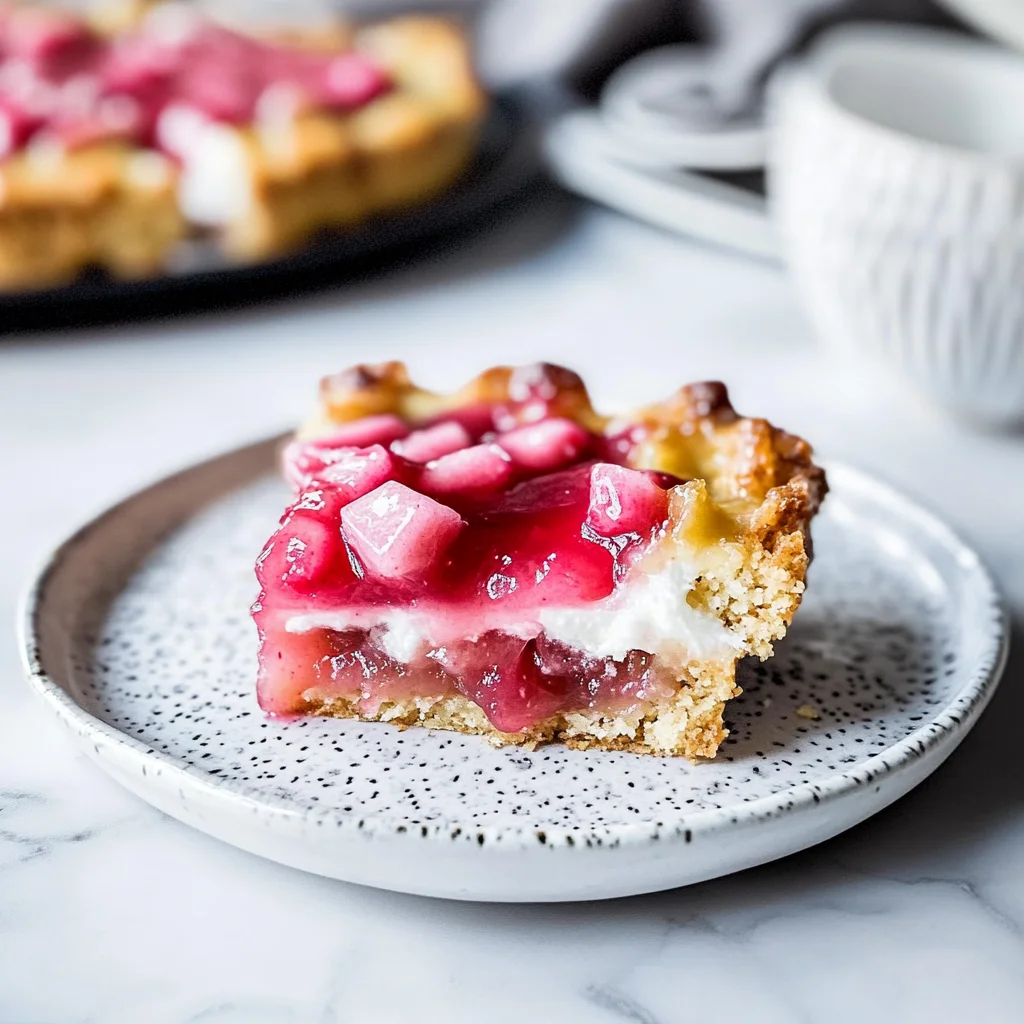
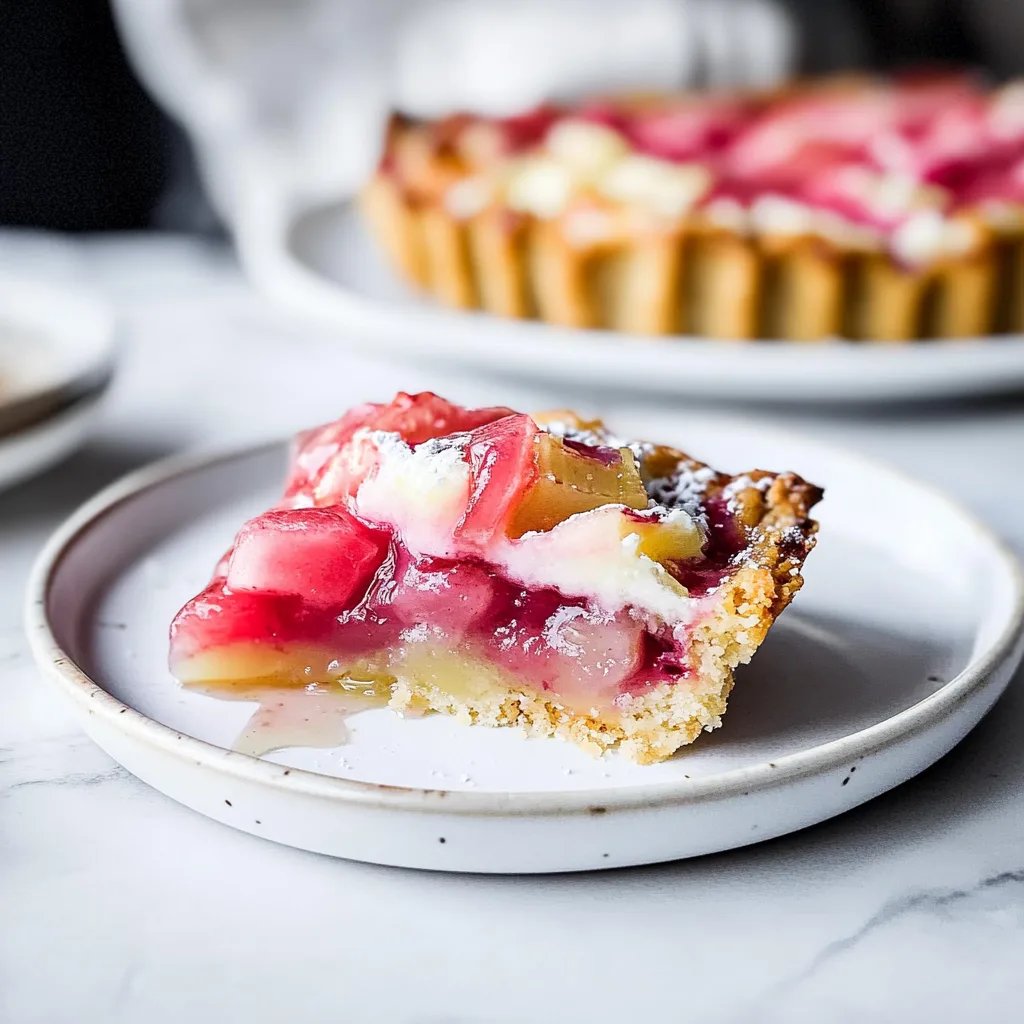
Imagine sinking your teeth into a luscious rhubarb dream bar, where the tangy-sweet filling dances on your palate, and the buttery crust crumbles delightfully beneath each bite. The aroma wafts through the kitchen, effortlessly transporting you to sun-drenched picnics and family gatherings where laughter mingles with the sweet scent of dessert.
These rhubarb dream bars are perfect for any occasion, whether it’s a casual backyard barbecue or a cozy get-together with friends. I can still recall the first time I tasted them at my grandmother’s house, where she would whip up a batch that disappeared faster than you could say “seconds, please.” Get ready to experience an unforgettable flavor journey that will have you daydreaming about seconds!
Why Is Make Rhubarb Dream Bars So Irresistibly Good?
Delightful flavor comes from the perfect balance of tangy rhubarb and sweet filling, creating a taste sensation that’s hard to resist. Easy preparation means you can whip these up in just 20 minutes of prep time, making them an ideal treat for any occasion. Buttery crust adds a rich texture that perfectly complements the creamy filling, enhancing every bite. Versatile dessert that’s perfect for gatherings, picnics, or simply indulging at home. Crowd-pleaser appeal ensures your friends and family will be asking for seconds!
Ingredients for Make Rhubarb Dream Bars
For the Crust
- 1 cup all-purpose flour – This forms the sturdy base of the bars, providing a lovely texture.
- 1/4 cup granulated sugar – Adds just the right sweetness to balance the tangy filling.
- 1/2 cup unsalted butter (softened) – Creates a rich, buttery flavor that melts in your mouth.
- 1/4 teaspoon salt – Enhances all the flavors and balances the sweetness perfectly.
For the Filling
- 2 cups rhubarb (chopped) – The star ingredient that gives these bars their signature tangy taste.
- 1 cup granulated sugar – Sweetens the filling and complements the tartness of the rhubarb beautifully.
- 1/4 cup all-purpose flour – Helps to set the filling and achieve a creamy consistency.
- 3 large eggs – Binds everything together while adding richness to each bite.
- 1 teaspoon vanilla extract – Infuses a warm flavor that rounds out the tartness of the rhubarb.
- 1/4 teaspoon salt – Balances sweetness and enhances overall flavor in this delightful treat.
Step-by-Step Make Rhubarb Dream Bars
1. Preheat the oven to 350°F (175°C). In a mixing bowl, combine 1 cup all-purpose flour, 1/4 cup granulated sugar, 1/2 cup softened unsalted butter, and 1/4 teaspoon salt. Mix until crumbly and delightful!
2. Press the mixture into the bottom of a greased 9×9 inch baking pan, creating a lovely base for your bars. Bake for 15 minutes until lightly golden.
For the Filling:
3. Combine in a separate bowl the chopped 2 cups rhubarb, 1 cup granulated sugar, and 1/4 cup all-purpose flour. Add in the 3 large eggs, 1 teaspoon vanilla extract, and 1/4 teaspoon salt. Mix well until everything is beautifully blended.
4. Pour the filling over your pre-baked crust, spreading it evenly to ensure every bite is filled with that creamy goodness.
5. Return the pan to the oven and bake for an additional 25 minutes or until the filling is set and has that perfect jiggle.
6. Cool the bars before slicing them into squares of joy. Let them rest so each piece can shine!
Optional: Dust with powdered sugar before serving for an extra touch of sweetness.
Exact quantities are listed in the recipe card below.
Expert Tips
- Chill the Butter: Ensure your butter is softened but not melted; this creates a flaky crust when baking.
- Measure Flour Correctly: Spoon the flour into your measuring cup and level it off to avoid a dense crust in your Make Rhubarb Dream Bars.
- Don’t Overmix: When combining the filling ingredients, mix just until combined. Overmixing can result in a rubbery texture.
- Cool Completely: Allow the bars to cool completely before slicing. This helps them set properly, preventing a messy cut.
- Use Fresh Rhubarb: For the best flavor, use fresh rhubarb rather than frozen, as it gives a brighter taste and better texture.
How to Store and Freeze Make Rhubarb Dream Bars
- Room Temperature: Keep your Make Rhubarb Dream Bars in an airtight container for up to 2 days. Enjoy the fresh taste right after baking!
- Fridge: Store leftovers in the refrigerator for up to 5 days, ensuring they’re covered tightly to maintain their creamy filling’s freshness.
- Freezer: For longer storage, freeze the bars in a freezer-safe container for up to 2 months. Thaw in the fridge overnight before enjoying.
- Reheating: If you prefer warm bars, gently reheat them in the oven at 350°F (175°C) for about 10 minutes, or until warmed through.
Make Rhubarb Dream Bars Your Way
Feel free to get creative and customize these delightful bars to suit your taste and dietary needs!
- Gluten-Free: Substitute the all-purpose flour with a gluten-free blend for a safe, delicious treat. With this swap, you won’t miss out on the buttery crust that pairs perfectly with the tangy rhubarb filling.
- Vegan: Replace the butter with coconut oil and use flax eggs instead of regular eggs. This twist introduces a lovely, subtle coconut flavor while keeping it plant-based. The creamy filling will still be just as dreamy!
- Nutty: Add 1/2 cup of finely chopped nuts, like almonds or walnuts, to the crust for an added crunch. The nuttiness complements the sweet and tangy flavors beautifully, creating a satisfying texture in every bite.
- Spiced: Incorporate 1 teaspoon of cinnamon or ginger into the crust for a warm flavor boost. This addition brings a cozy element to your rhubarb bars, making them perfect for sharing on chilly evenings.
- Berry Boost: Mix in 1 cup of fresh berries such as strawberries or blueberries with the rhubarb filling. The berries add another layer of sweetness and color, making these bars even more irresistible.
- Zesty: Grate in some lemon or orange zest to brighten up the filling. The citrus notes will elevate the flavors and give your bars a refreshing twist that’s simply delightful.
- Chocolate Drizzle: Top your finished bars with a drizzle of melted chocolate for an indulgent finish. This decadent touch harmonizes beautifully with the tart rhubarb, creating a sweet contrast that’s hard to resist.
Make-Ahead Tips for Make Rhubarb Dream Bars
Preparing to make Rhubarb Dream Bars is a breeze, especially with a little advance planning! You can prepare the crust up to 24 hours ahead by mixing together 1 cup of all-purpose flour, 1/4 cup of granulated sugar, 1/2 cup of softened unsalted butter, and 1/4 teaspoon of salt until crumbly. Press the mixture into your greased 9×9 inch baking pan and bake it for 15 minutes. For the filling, you can chop your rhubarb and combine it with 1 cup of sugar, 1/4 cup of flour, 3 large eggs, 1 teaspoon of vanilla extract, and another 1/4 teaspoon of salt; this can also be done up to 3 days in advance. When you’re ready to serve, simply pour the filling over your pre-baked crust and bake for an additional 25 minutes until set. Let cool before slicing into bars for a delightful treat that’s sure to impress!
Make Rhubarb Dream Bars Recipe FAQs
What type of rhubarb should I use for these bars?
When making Rhubarb Dream Bars, it’s best to use fresh, vibrant rhubarb stalks. Look for firm, bright red or pink stalks without any signs of wilting or browning. If fresh rhubarb isn’t available, you can also use frozen rhubarb—just make sure to thaw and drain it well before adding it to your filling.
Can I substitute the all-purpose flour in the crust?
Absolutely! If you’re looking for a gluten-free option, you can substitute the all-purpose flour with a 1: 1 gluten-free flour blend. The texture may vary slightly, but it will still create a deliciously buttery crust that complements the tangy filling perfectly.
How should I store my Rhubarb Dream Bars?
To keep your Rhubarb Dream Bars fresh, store them in an airtight container at room temperature for up to 2 days. For longer storage, refrigerate them for up to a week. Just make sure they’re completely cool before sealing them away!
Can I freeze Rhubarb Dream Bars?
Yes! These bars freeze beautifully. After slicing them into bars, wrap each piece tightly in plastic wrap and then place them in a freezer-safe bag or container. They can be stored in the freezer for about 2-3 months. When you’re ready to enjoy them, simply thaw at room temperature or warm them up briefly in the oven.
What if my filling doesn’t set properly?
If your filling appears too runny after baking, it might need additional time in the oven. Every oven is different; sometimes an extra 5-10 minutes can help firm things up. Just keep an eye on it to ensure the edges don’t overbake! The filling should be slightly jiggly but not liquid when done.
What is the ideal serving size for these bars?
This recipe yields about 4 generous servings, with each bar containing approximately 250 calories. If you’re serving a crowd or just want to indulge more, feel free to cut them into smaller squares—these tangy treats are perfect for sharing!
Make Rhubarb Dream Bars
Ingredients
Method
- Preheat the oven to 350°F (175°C). In a mixing bowl, combine flour, sugar, butter, and salt. Mix until crumbly.
- Press the mixture into the bottom of a greased 9x9 inch baking pan. Bake for 15 minutes.
- In a separate bowl, combine chopped rhubarb, sugar, flour, eggs, vanilla extract, and salt. Mix well.
- Pour the filling over the pre-baked crust and spread evenly.
- Return the pan to the oven and bake for an additional 25 minutes, or until the filling is set.
- Remove from oven and let cool before slicing into bars.